Creating Compilation of Videos
This guide walks you through the process of creating a compilation of videos using the Forzify MAM platform. Follow the steps below to combine multiple videos into a single compilation efficiently.
Steps to Create Compilation of Videos
Before You Begin
Ensure you are logged into the platform and have access to the videos you want to compile.
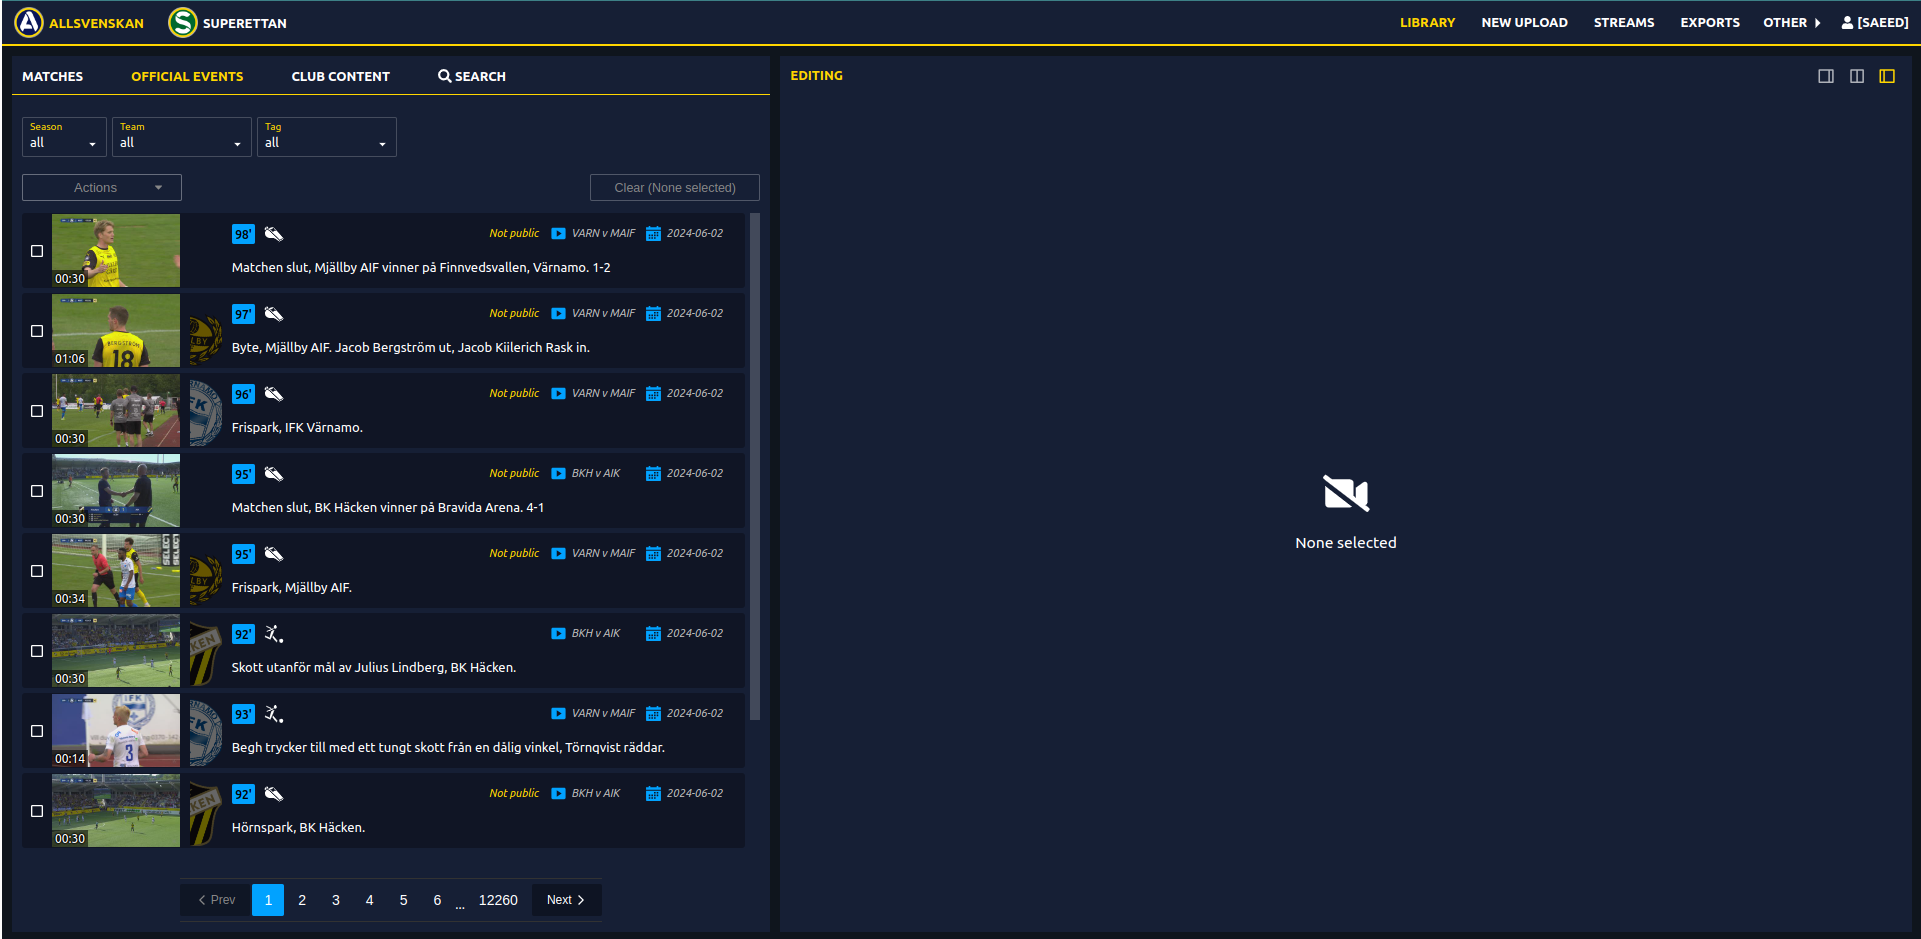
1. Navigate to Videos:
After logging in, you can select a video from different tabs depending on where it is located:
- Matches: Choose the match you want the video from.
- Official Events: Select from official event clips.
- Club Content: Choose videos uploaded/edited as club content.
Navigate to either of these sections to begin the compilation process.
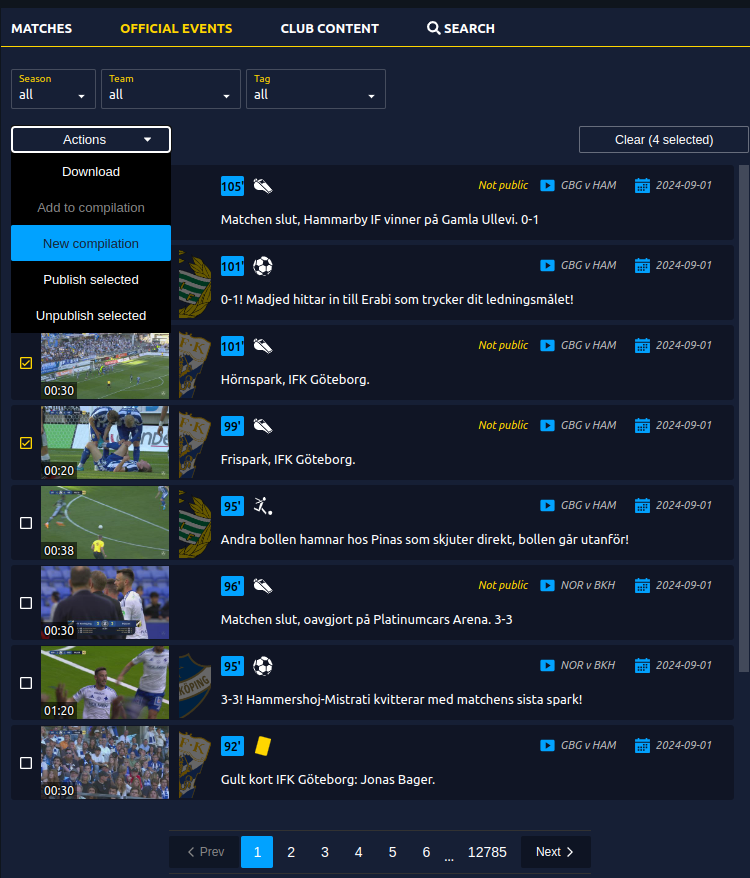
2. Select the Videos:
To create a compilation, select the videos you wish to combine. You can select multiple videos by clicking on the check box next to their thumbnails, or selecting all in top as shown below:

3. Choose Compilation Action:
Once your videos are selected, follow these steps:
- Open the Actions dropdown and select "New Compilation" to start creating a new compilation from the selected videos.
Adding More Videos Later?
If you've already started a compilation and want to add more videos, use the "Add to compilation" option from the actions dropdown.
4. Preview Compilation and Reordering Clips:
After selecting the compilation action, you can preview the videos you've chosen to ensure they are correct. This preview screen allows you to reorder the content before proceeding. You can reorder the clips by drag and droping to the desired place or by clicking on Auto-sort chronologically.
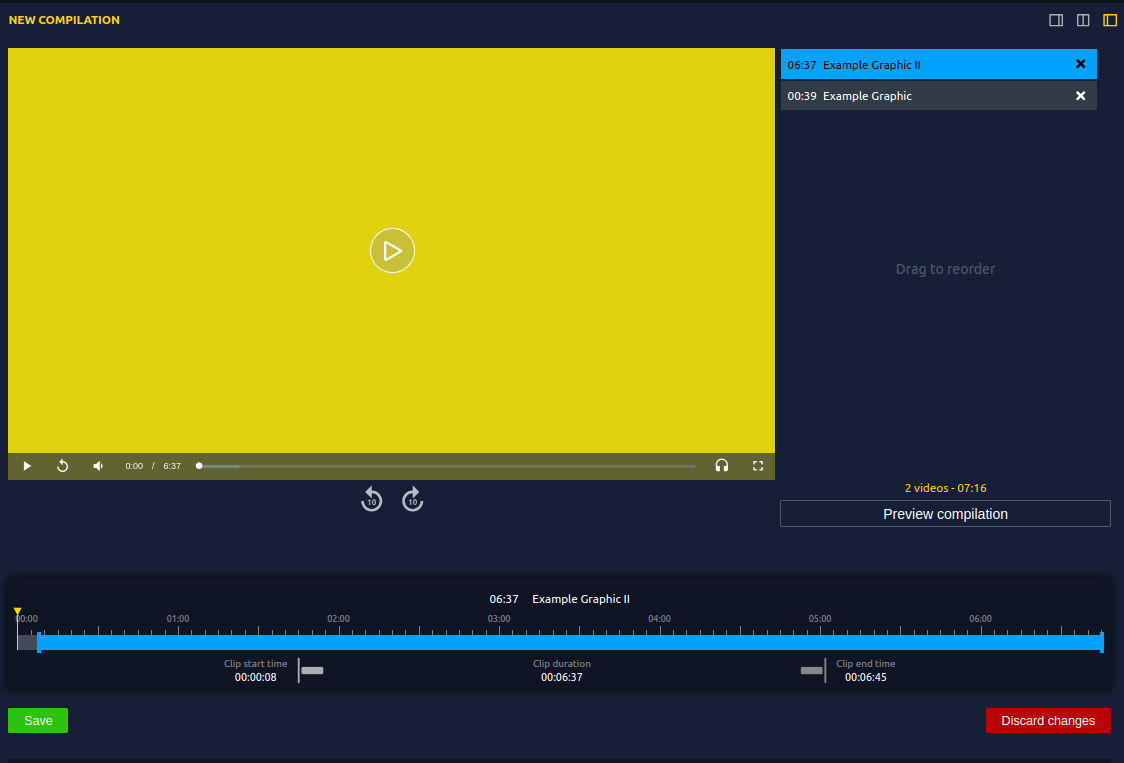
5. Adjust Video Duration:
To fine-tune the length of each video in the compilation:
- After selecting "New compilation" in the actions dropdown, a blue timeline bar for each video will appear.
- Drag the edges of this bar to adjust the video's start and end points.
Once you've made your adjustments:
- Click "Save" to apply the changes.
- Click "Discard" if you want to revert the timeline to its original state.

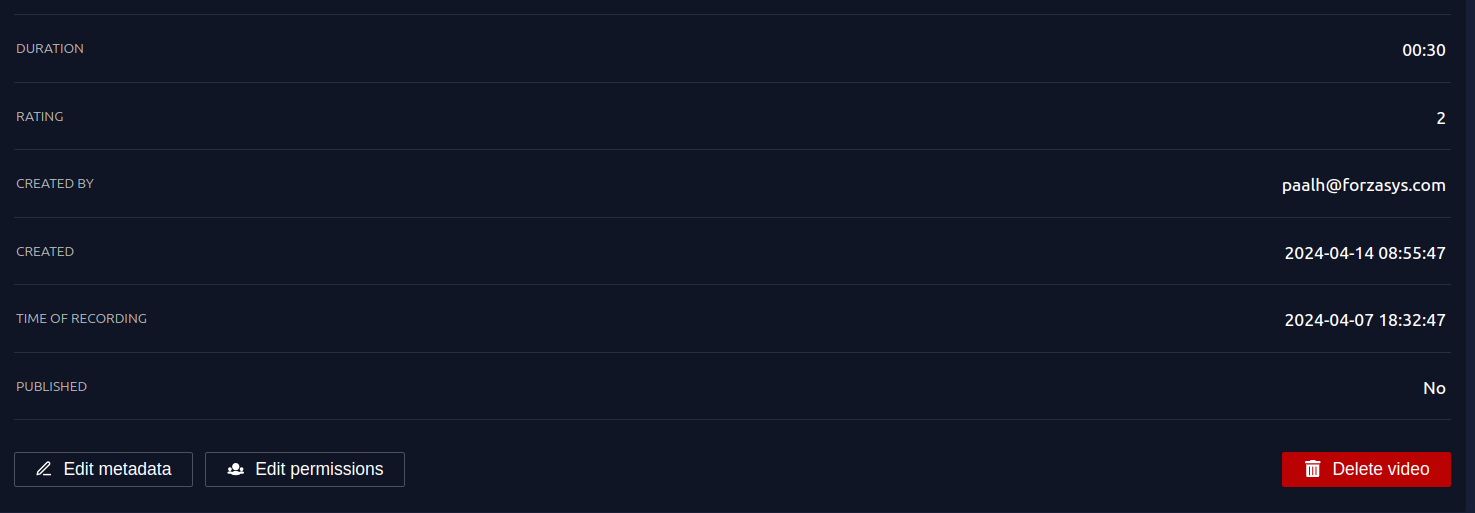
6. Edit Metadata:
You can also update the metadata of your compilation by clicking on the "Edit Metadata" button.

Metadata Options:
- Title and Metadata:
-
You can update the title and other identifying information for your new compilation.
-
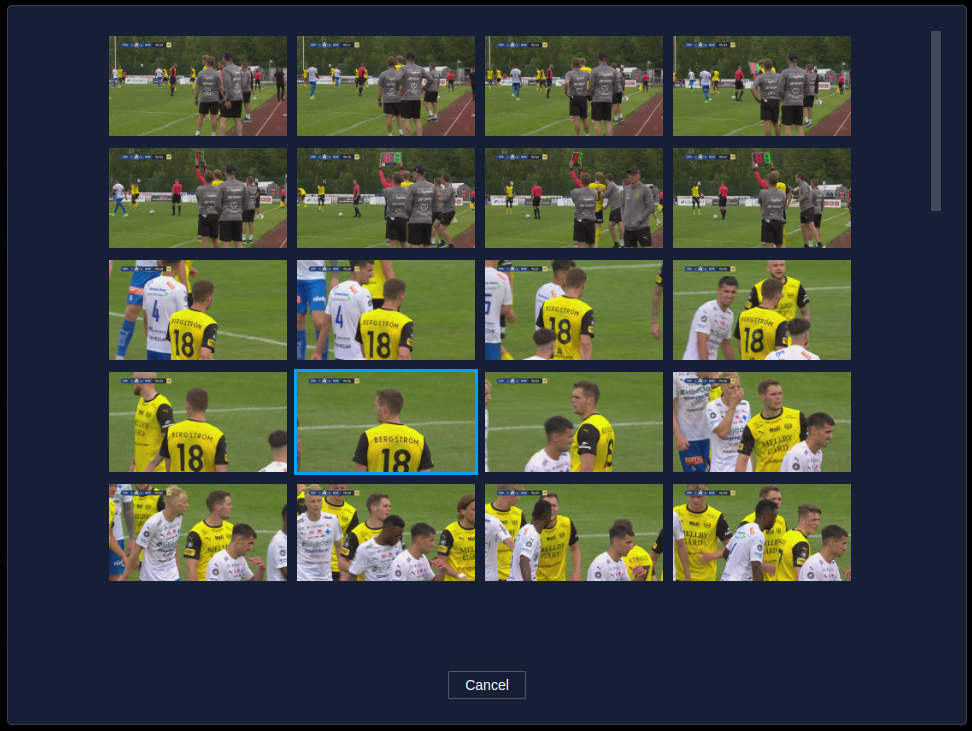
Thumbnail Selection:
-
Customize your compilation’s thumbnail using one of the following options:
- Select from List (optional): Click on "Select from list" to choose a specific frame or element from the video.
- Upload Image (optional): If you have a custom image for your thumbnail, click "Upload Image" and select it from your files.
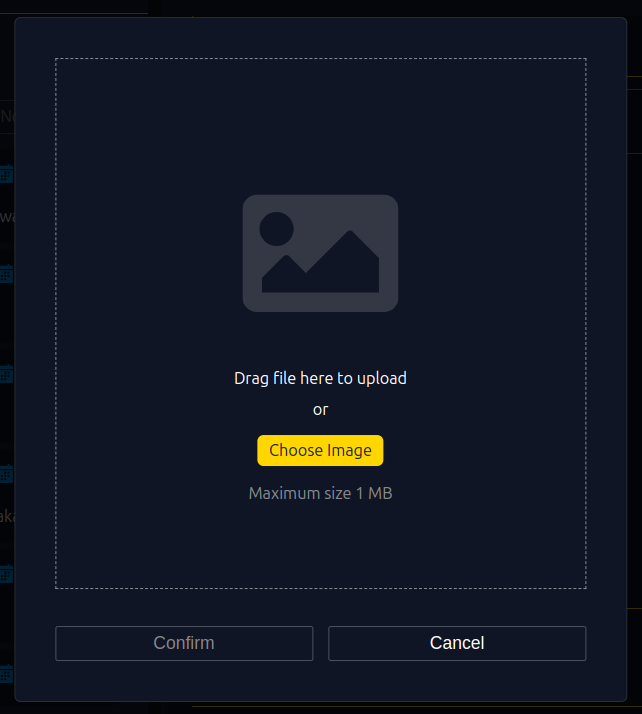
- Auto-generated Thumbnail: Let the system automatically generate a thumbnail from the video content.
-
Pre-roll and Post-roll Settings:
- Customize the playback experience by adjusting Pre-roll and Post-roll durations to control what appears before and after the main video content.
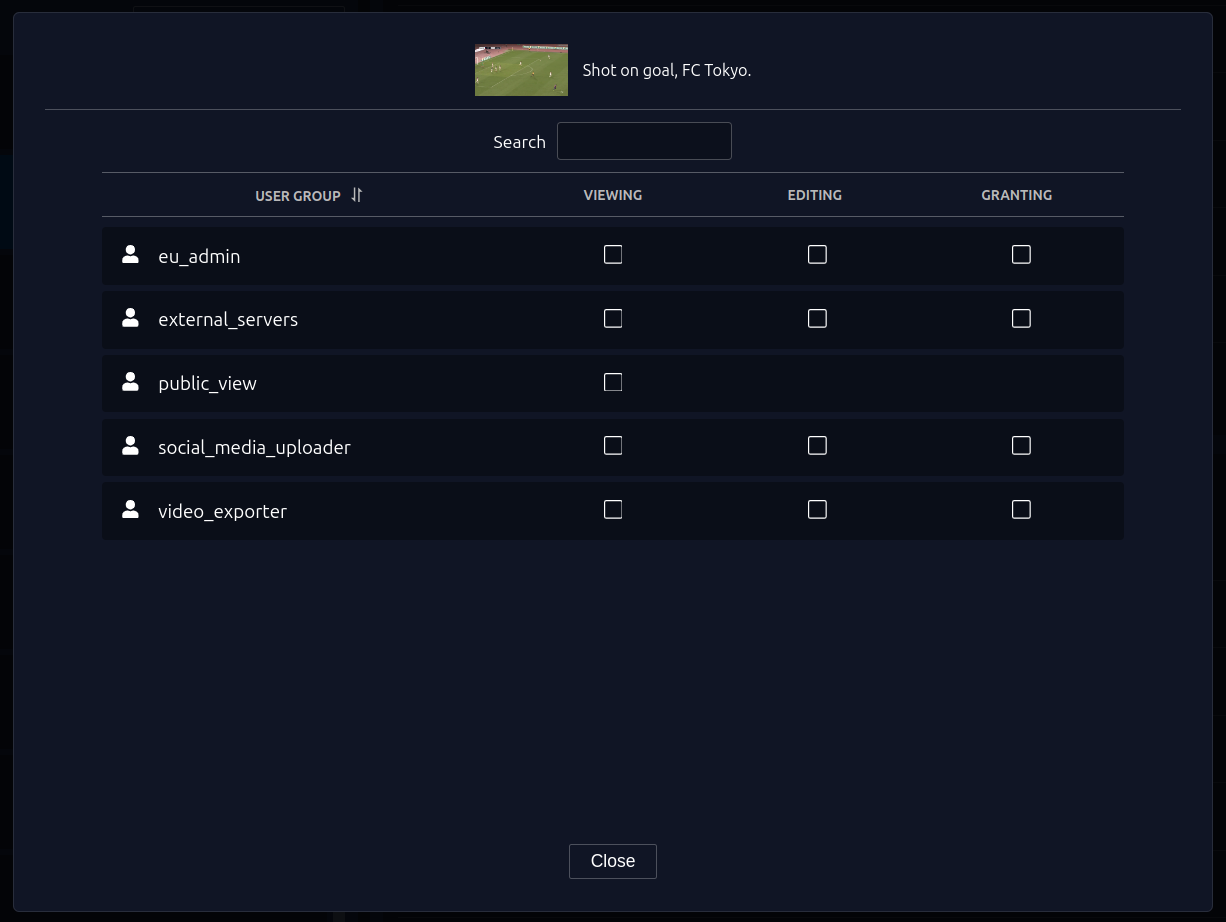
7. Manage Permissions and Finalize:
After adjusting the duration and metadata, follow these final steps:
- Click the "Edit Permissions" button to set who can view or edit the compilation.
- Once all changes are confirmed, click "Close" to finalize the process.
Need Help?
If you encounter any issues while trying to create a video compilation, please reach out to our Support Team for assistance.