Uploading a Video to the MAM
This guide will walk you through the steps to upload a video to our Media Asset Management (MAM) system.
Step 1: Start the Upload Process
- First, on the top bar click on NEW UPLOAD.
Step 2: Select a File
- On the right panel, click the Choose File button.
- A file browser window will open. Navigate to the video file you wish to upload on your local computer, and select it.
- Once the file is selected, it will start loading and you will see a preview of the video on the right-hand side of the screen.
Step 3: Fill in Metadata
- After the video is displayed, you will need to fill in the relevant metadata fields on the right panel:
The fields to complete are:
- Title: Add a meaningful title for the video.
- Channels: Select the appropriate channel (e.g., SHL).
- Category: Add a category for better organization.
- Thumbnail: Either use the auto-generated thumbnail or upload a custom thumbnail.
- Associate with match: If the video is related to a match, associate it here.
- Preset: Select any preset if needed.
- Post-roll: Add a post-roll if necessary.
- Time of recording: Set the correct time of recording, or click Set to Now for the current time.
- Published: Set the publication time.
Step 4: Start the Upload
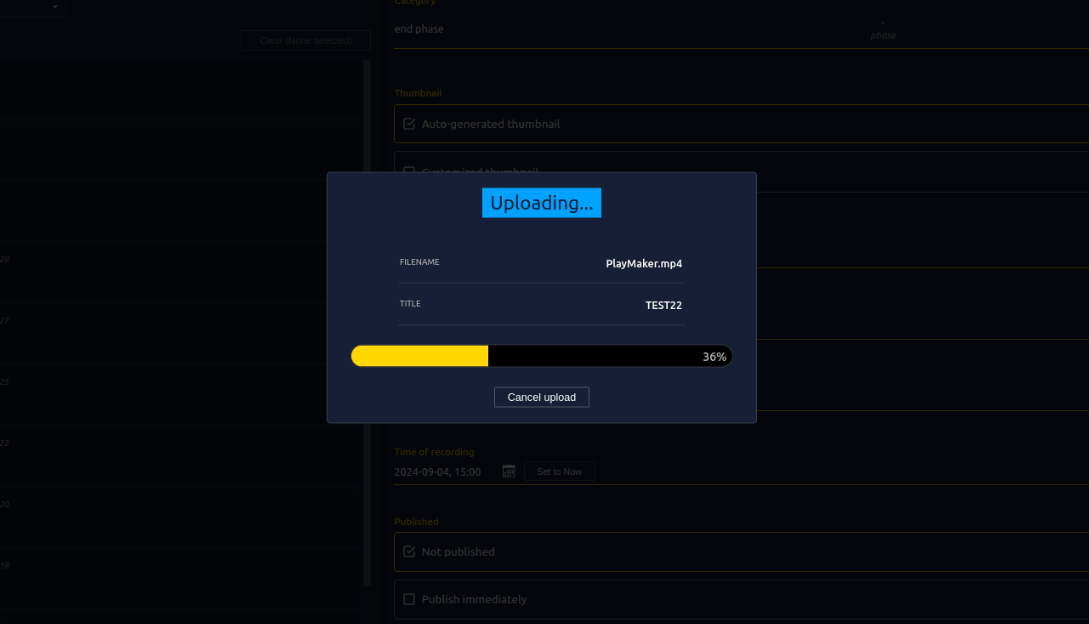
- Once all the metadata is filled in, click the Upload button to start uploading the video.
- You will see the progress similar to the screenshot below
Step 5: Video Encoding and Library Display
- After the upload is complete, the system will begin encoding the video. This process may take some time depending on the file size and video quality.
- Once encoding is finished, the video will be available in the Club Content tab under the Library section.
Need Help?
If you encounter any issues, don’t hesitate to contact our Support Team for help.